free responsive site templates

Nat & Moni's Wedding Project

Monica Hill ←→ Nathanael Mowbray :: 2013-01-19

PROJECT HOME

The Production

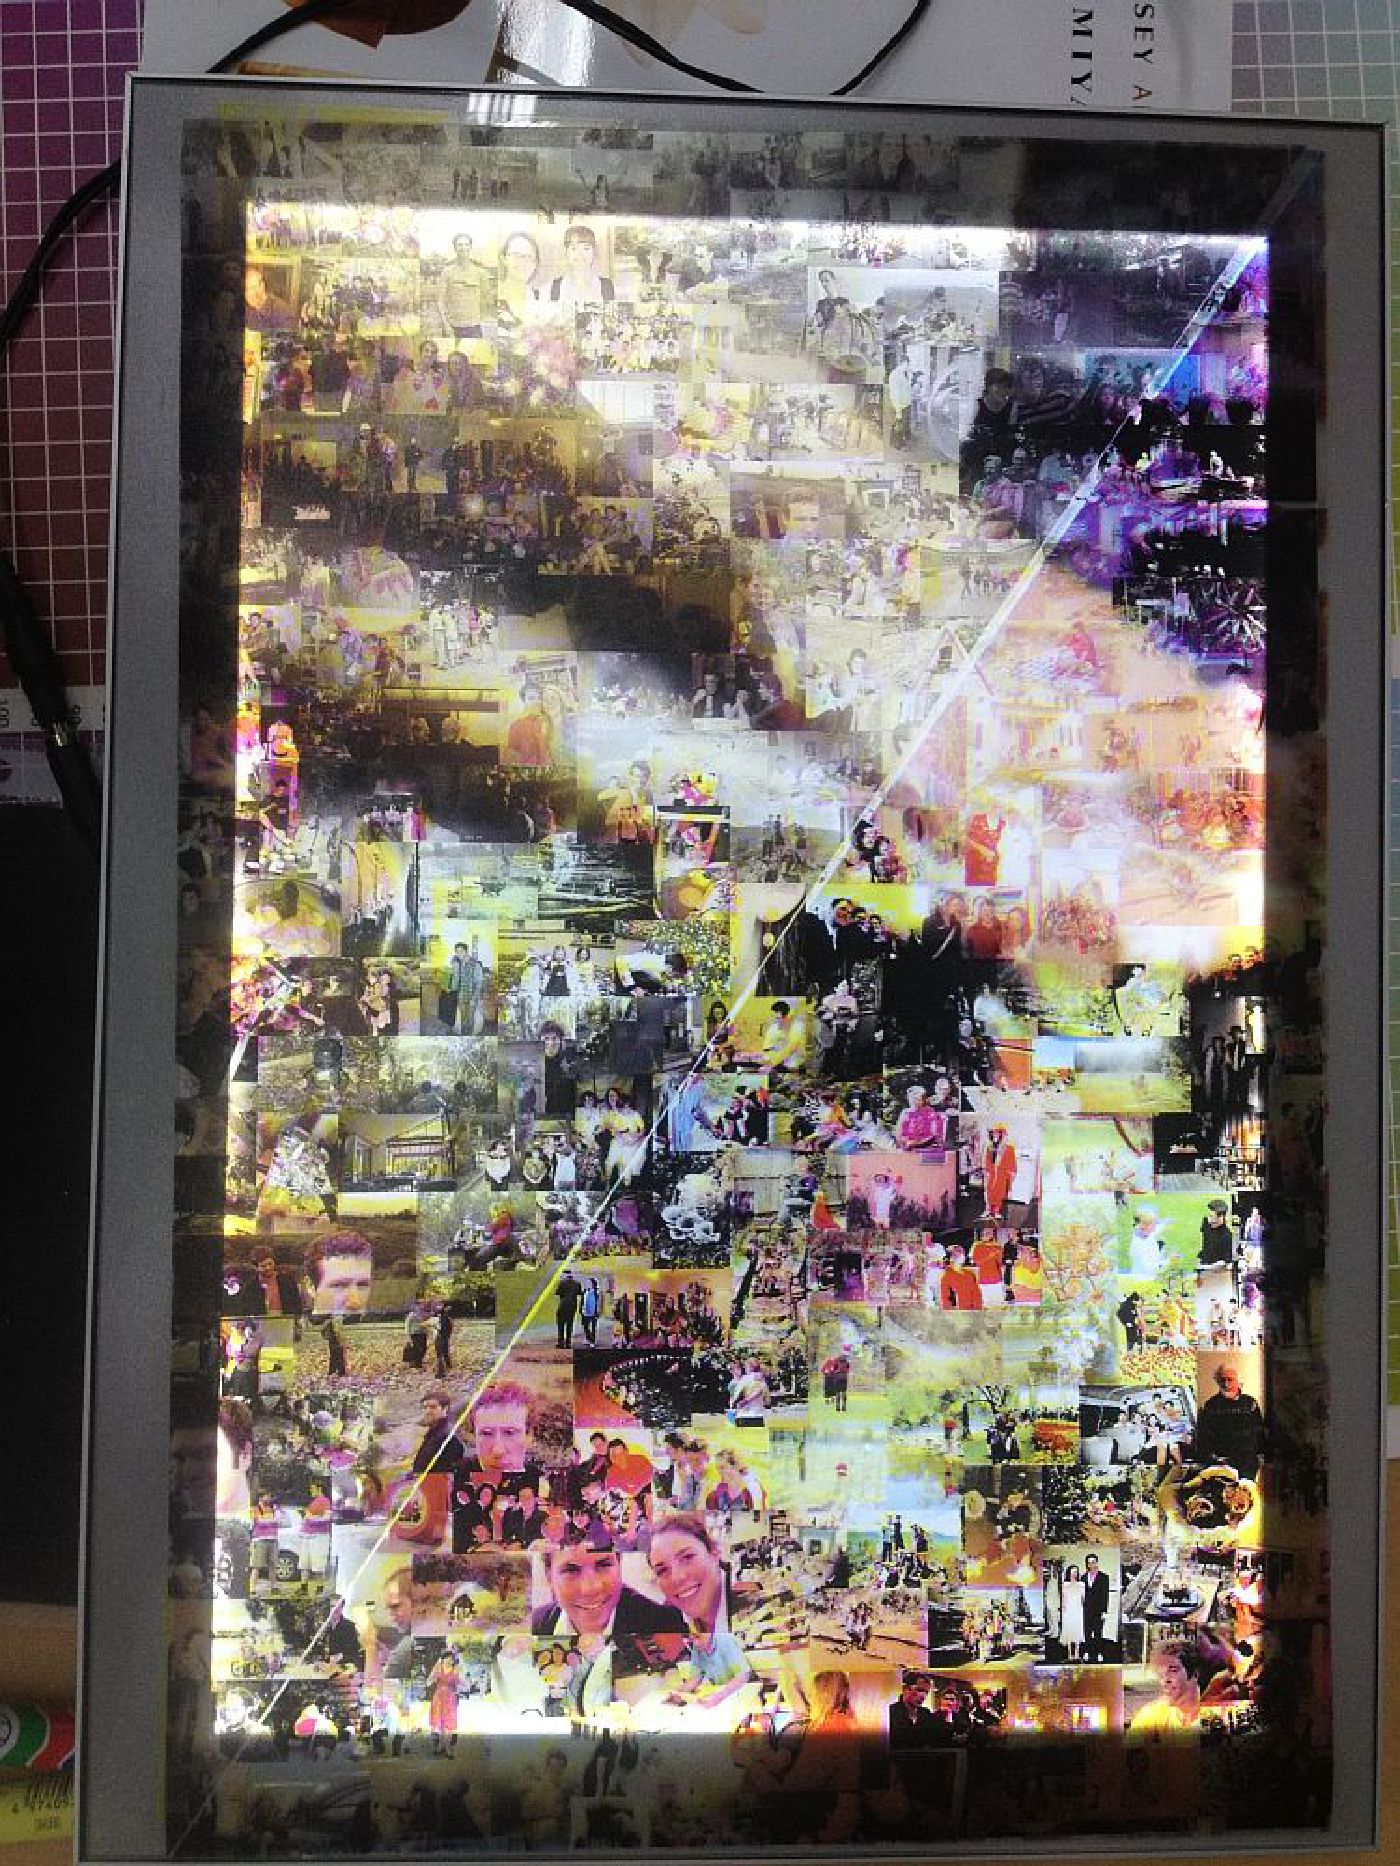
After some more experimentation, more photos being uploaded and discussions with printers and manufacturers, the plan for the mosaic changed to portrait orientation (as we thought it would work better for the construction in the marquee).


I created two PhotoMosaics for the piece:

  1. The background PhotoMosaic was generated with a minimum amount of colour that AndreaMosaic bled through from the base image.
  2. The foreground PhotoMosaic was generated using the full colour tiles, though bleeding through a lot of colour from the base image, and a special mask file in AndreaMosaic to limit the tiles to just Nathanael & Monica.


The two mosaics used 1,610 unique photos. GIMP was used to cut the foreground mosaic into the background mosaic, and the GIMP plugin separate+ to produce the four coloured layers used to print the tiles.


Software used

JPEG Lossless Rotator: Initial rotating of photographs.

RIOT: Optimisation of web images.

AndreaMosaic Professional: Creation of the PhotoMosaics.

GIMP: Compiling the final image, colour separation (separate+) and knife-lines layer.


Hardware

Look Print: Used Synthetic Cling Media for the transparency tiles: a media that statically sticks to Glass, Perspex and also itself and can easily be removed without damage.

Interium: Manufacturers and suppliers of the Strada Lightbox.


Test Print

Look Print were still very concerned about how the piece would work, so  I put together a demonstration of how it may develop.

Look Print were keen to cover all the bases and strongly suggested we print another test using the final image. So I prepared an A4 100% crop of both the separation methods (splitting them together) and sent it down to them. Apart from getting my black layer mixed up, it confirmed the separate+'s separation was the way to go, and I was happy.

Until I received the printing... The printers had again printed to the wrong size, this time it was A3! Look Print received a very distressed, and angry, phone call from me asking them to please explain why they were expecting me to trust them with the printing.

It was 10 days out from the wedding and I didn't have a different option, Look Print assured me they'd made sure, then double sure and then triple sure the print requirements were understood (at which point I really wondered about the health benefits of doing things that were outside the square).

Mosaic Transparencies

At the important end of the project Look Print performed flawlessly. I had the transparencies on the Lightbox the day after printing, all perfectly labeled and ready to go! I was thrilled with the colour: I could only construct a corner as I didn't want to take the backing sheet off – but it was surpassed my wildest dreams!


All that was left to do was to prepare for the performance by getting the envelopes ready and putting the transparencies into the correct envelopes.